Searchadence was confirmed to be a deceitful adware, luring the innocent users to visit various websites and defrauding them for money. Since the baleful adware sneaked into user’s browser, it would display nonstop pop-up ads, intending to forcibly promote the masses of ignorant users with plenty of newly listed products with low price or coupons, drawing them to click on each ads link and take the bait. Most of the users can not see through the Searchadence’s tricks and also be haunted by their curiosity, so they trustingly browsed the specified websites to learn more about it, and could not resist the temptation to make transactions, resulting losing a lot of money.

In most cases, the innocent users got infected with Searchadence unconsciously. Because the tricky adware usually mixed with free downloads, bundling with the third-party software or hiding in the compression packages then being downloaded together. When the innocent users unzipped the files and started the installations, malicious unwanted programs would seize the chance to convince the users, pretending to be some beneficial applications to coax them to approve the installation requests. Sometimes, Searchadence adware would also hang in some unsafe sites, waiting for the victims to browse the webpages and installing itself into the targeted computer system without user’s awareness and permission. More than that, malicious adware would also be bundled with spam mail, randomly and widely sending to the masses of users, once they opened it, the adware would also installed into the system with improper ways.
Remaining Searchadence adware in the computer is definitely a mistake. Users would not just be in danger of being defrauded. As the cunning adware secretly stationed into the browser, it would be further intensified to add more and more unwanted malware, viruses or Trojans to mess with the targeted computer. In that cases, user’s important files and data in the system would be under serious threats. Cyber criminals usually take advantage of this opportunity to steal user’s confidential information such as their login passwords, online banking details, transactions verification code, etc. Which would cause the users further losses. In order to avoid the messes to save the computer, the best way is to remove Searchadence adware in a timely manner.
Please feel free to use the following guidance to complete the removal, if you have any problem during the process, you are welcome to make a contact with the VilmaTech Online Experts by clicking on the button. They’ll be glad to help.

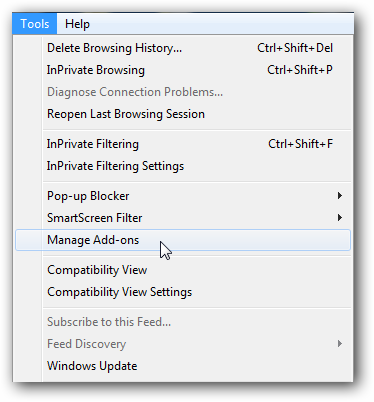
1. Start the Internet Explorer, click on Tools in the browser toolbar then select Manage Add-ons.
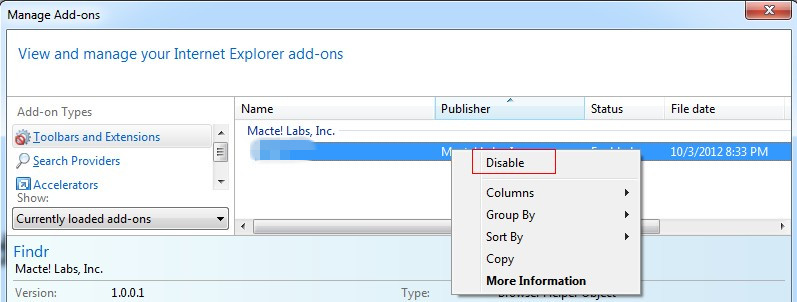
2. In the pop-up window, click on Toolbars and Extensions then right-click on the Searchadence item and select Disable in the list.
3. Restart the Internet Explorer.
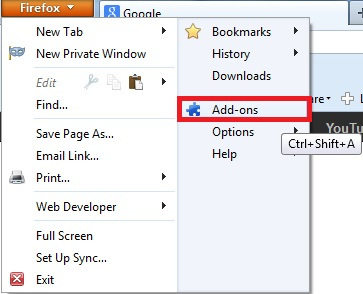
1. Run the Mozilla Firefox, click on the Firefox button and select the Add-ons in the menu.
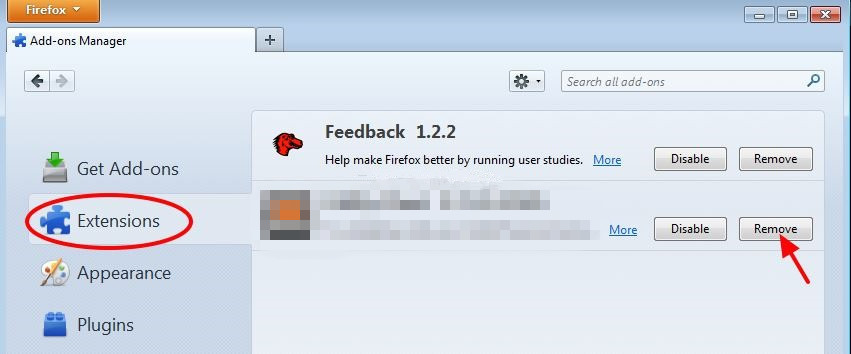
2. Click on the Extensions in the Add-ons Manager page, select the Searchadence then click on Remove button.
3. Restart Mozilla Firefox.
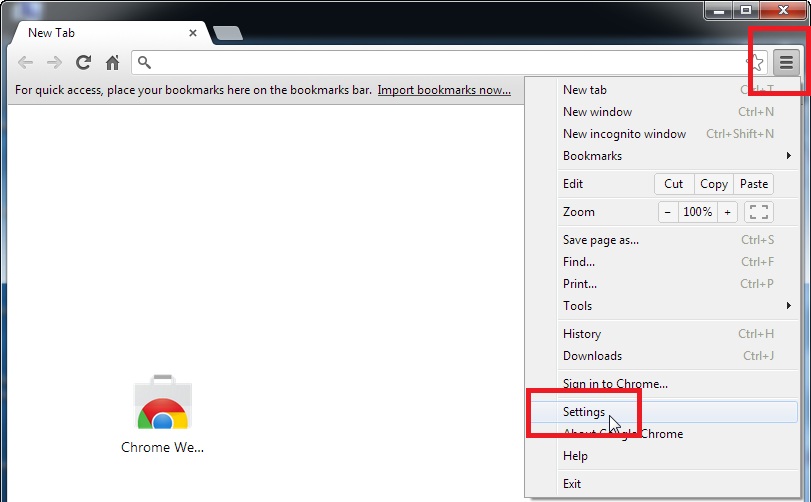
1. Launch Google Chrome and click on the Chrome menu then select the Settings in the list.
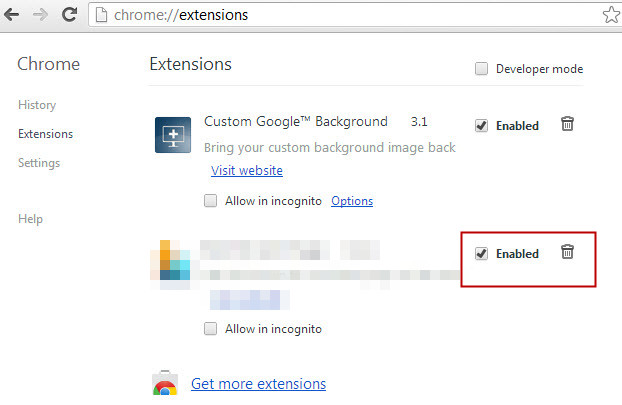
2. Click on the Extensions in the pop-up page, then find out the Searchadence item and disable it.
3. Restart Google Chrome.
1. Click on the Control Panel in the Start menu.
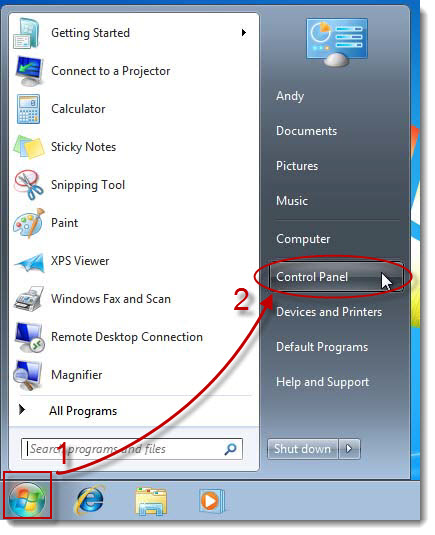
*For Windows 8 OS: Right-click on the screen’s bottom-left corner, select Control Panel in the pop-up list.
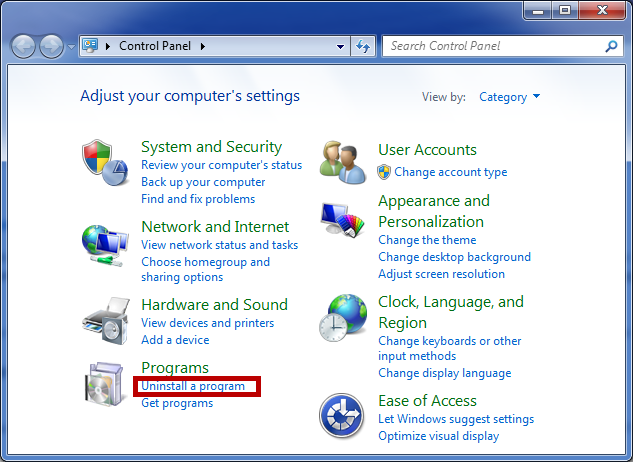
2. Search for the Programs in the panel, then click on the Uninstall a program link under it.
3. Find and select the Searchadence adware in the programs list, then click on the Uninstall.
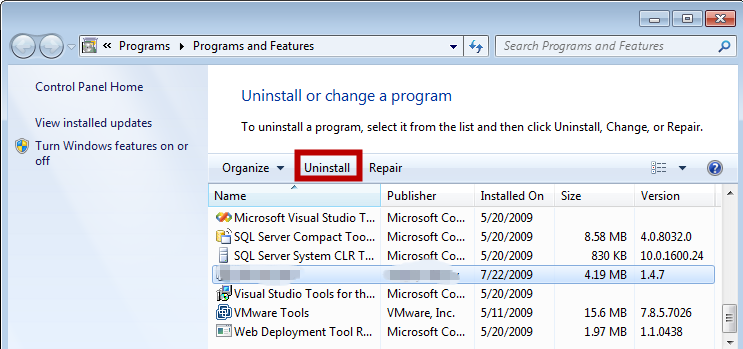
4. Confirm the uninstall request then follow the wizard to finish the Searchadence removal.
5. Make sure the Searchadence has been successfully removed.
1. Click on the Start button then open the Run Command box, type “regedit” in the bar then press the Enter key.
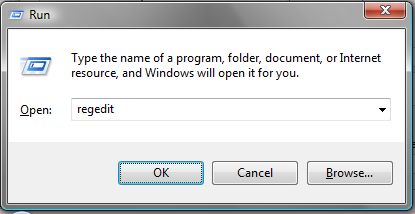
*for Windows 8 users, type “regedit” in the Apps search box, then click on the Registry Editor in the search results.

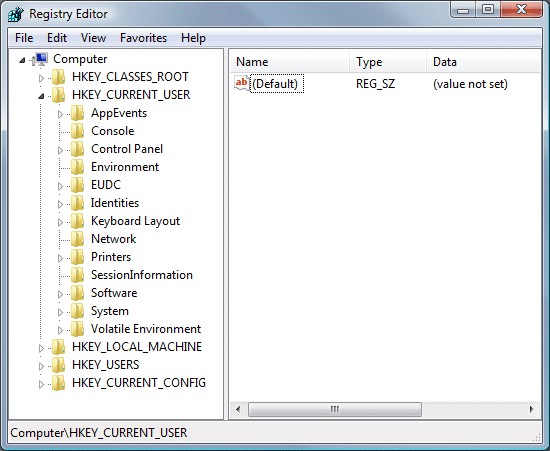
2. Carefully delete the registry entries of Searchadence in the Registry Editor window.
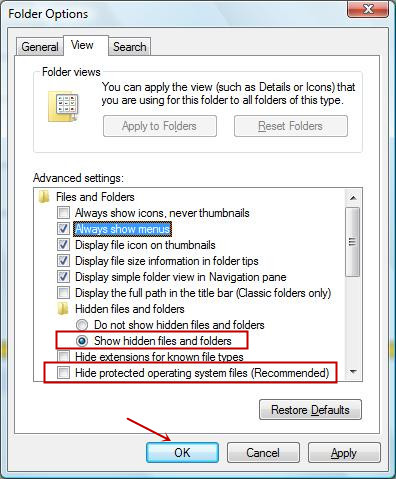
3. Show up all the hidden files.
* Do the folder properties reset in the Folder Options. Click on the View tab, select the item: Show hidden files, folders and drives, uncheck the item: Hide protected operating system files(Recommended).
4. Delete the files of Searchadence in the system.
5. Reboot the computer until it finished.
Searchadence adware is a stubborn malware for users to remove, especially for the computer novices. Using the regular remove methods could barely remove the tricky adware completely. That’s why most of the users have tried again and again but failed anyway. Hoping to remove the malware thoroughly and effectively, users have to learn to clean all the leftovers. Because the remaining files or registry keys would be the reason for the malware to come back again. Have to notice users that registry files are very important for the whole system and it is so easy for users to accidentally delete the wrong files and cause the computer crashing instantly. Under this circumstance, users have to be careful all the time and would better have the professional guidance around during the removal. Meanwhile, users would better learn more correct ways to prevent malware or viruses from invading the computer, which could avoid much trouble and save yourself a lot of time and energy.
Extra Tip: If you want to find out more effective ways to against the adware, please click on the button and have a chat with the VilmaTech Online Experts for more knowledge supply.