Dream Scan Soft has been proved to a fake security protection tool which has victimized numerous PC users and cause their computer with serious damages. The rogue often got installed into the targeted computer in improper ways, gradually disabling and replacing the original antivirus or antimalware installed in the system without authorization. In this case, it would have the ability to totally be in charge of the computer. It must be noted that the Dream Scan Soft is definitely not a beneficial software for the system security, on the contrary, it would only weaken the computer and destroy it sooner or later.
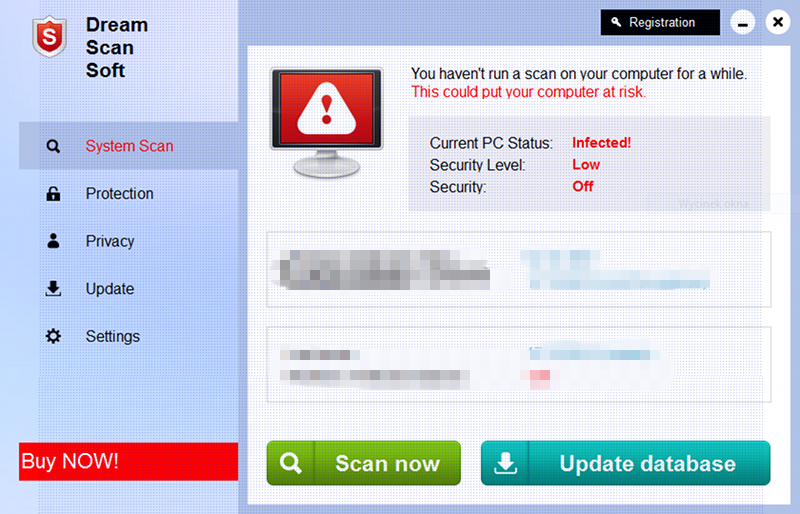
Having Dream Scan Soft remained in the computer, innocent users would constantly get plenty of pop-up System prompt warnings, noticing them about strange attacks, high-risk vulnerabilities, malicious Trojan viruses and recommending them to use Dream Scan Soft to start a quick scan immediately. Under this emergency situation, most of the users would blindly permit the scan request, waiting for the scan results in fear and trembling. This cunning rogue would take advantage of this opportunity to intimidate the ignorant users by displaying appalling scan reports, threatening them the computer was seriously infected and the security level was too low to prevent the computer from being attacked. In fact, Dream Scan Soft delivering the innocent users with false information is to induce them to purchase the licensed version of the rogue and defraud their money.
Dream Scan Soft is actually the main reason making the computer security state become more and more terrible. It has no ability to kill any virus even the users have faithfully brought its new version product. Dream Scan Soft has secretly lowered the guard of the computer and make it compromised for all kinds of attacks, the ignorant users just kept receiving the shocking news about the horrible computer healthy status and continued to be in the vicious cycle of buying the so-called licensed Dream Scan Soft, imagining to repair the corrupted computer. More than that, as the rogue could freely and comprehensively scan user’s system, it might be easily used by cyber criminals to spy on user’s confidential information, remotely stealing and destroying their important data and files to cause them huge losses. So, in order to save the vulnerable computer and avoid disastrous consequences, you’d better remove Dream Scan Soft immediately before it is too late.
If you have any question about the rogue and its removal, please make a contact with the VilmaTech Online Experts by clicking on the button. They’ll be glad to help.

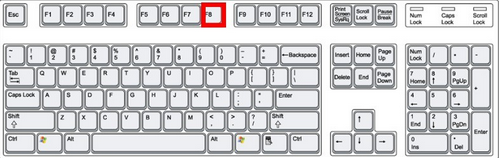
1. Restart the computer then press the F8 key repeatedly so that to open the Windows Advanced Options screen.
2. Locate the Safe Mode with Networking with arrow key on your keyboard then press the Enter.

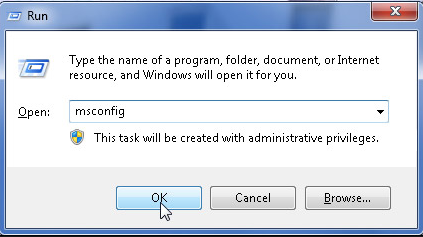
1. Open the Run command from the Start menu then type the “msconfig” in the search box and press OK.
2. Click on the Boot tab in the pop-up window, select the Network option and hit the OK button, then reboot the computer and log in Safe Mode with Networking.

1. Click on the Start menu, open the Search box or the Run box.
2. Type ‘msconfig’ and press the Enter key.
3. In the pop-up window,click on the Startup tab.
4. Select all the startup items of Dream Scan Soft.
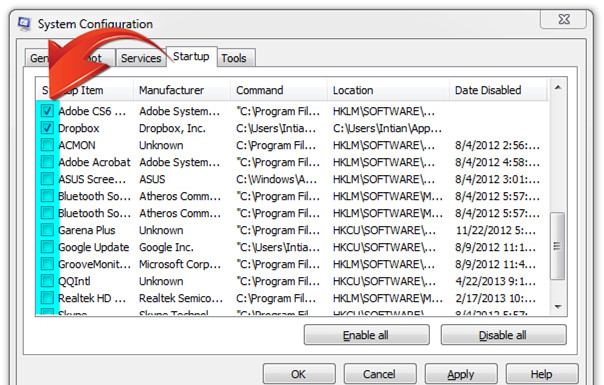
5. Click on the Disable All button.
6. Click on OK button.
1. Press Ctrl+Alt+Del keys concurrently then click on Task Manager to open it.
2. Click on the Startup tab, select all the startups programs related to the Dream Scan Soft.
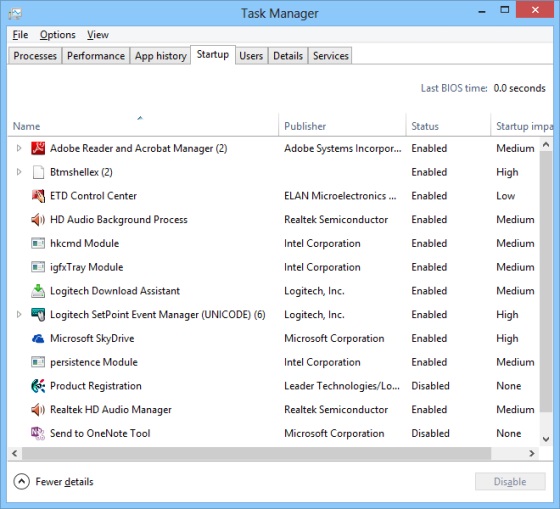
3. Click on the Disable button.
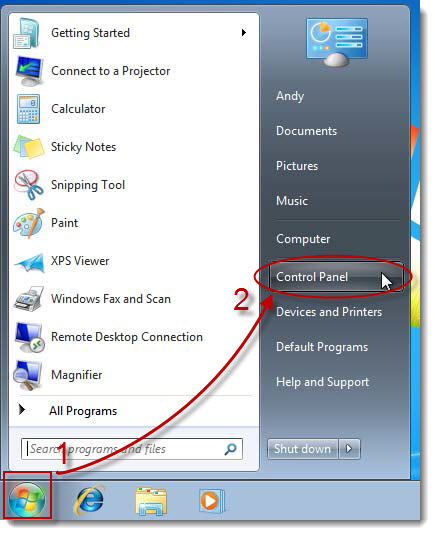
1. Open the Control Panel from the Start menu.
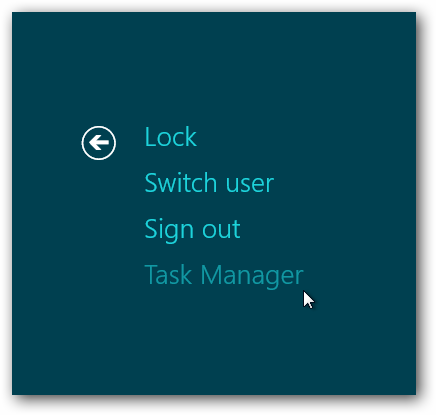
*for Windows 8: Hover the cursor in the bottom left of the screen to produce the start menu image, then right-click to bring up the start context menu and choose the Control Panel.

2. Click on the Programs(Add or Remove Programs for the Windows XP) then click on the Programs and Features.
3. Search for the Dream Scan Soft and highlight it then click on the Uninstall.
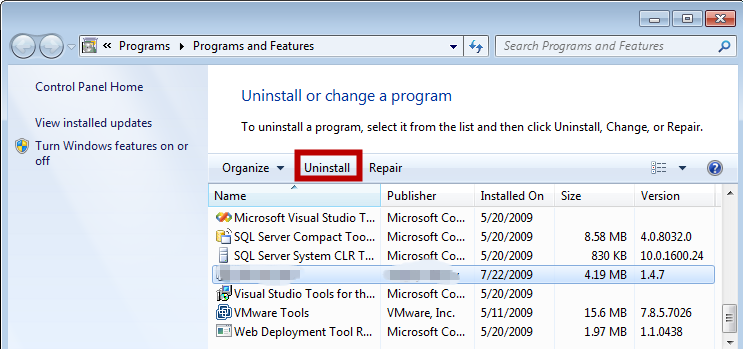
4. Follow the uninstall wizard till it finished.
5. Refresh the programs list to make sure the Dream Scan Soft has removed.
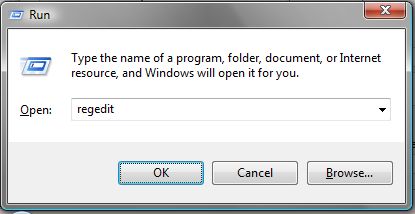
1. Open the Registry Editor.
Open the Windows Start menu-> Open the Run Command-> Type “regedit” in the search box-> Press Enter.
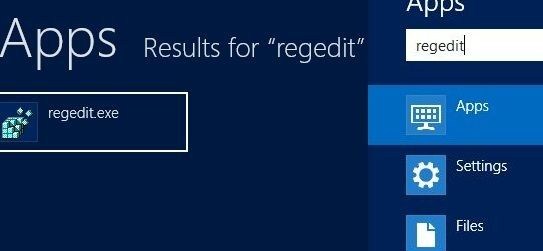
In the Start screen, click the Search option-> Type “regedit” in the search bar from the App screen-> Click and open the Registry Editor in the search results.
2. Find and delete all the registry entries of the Dream Scan Soft.

3. Find and delete Dream Scan Soft registry keys.
4. Right-click on the Dream Scan Soft folder and delete it.
5. Close the Registry Editor and restart the computer.
Dream Scan Soft rogue usually pretended to be a helpful protection tool to convince the innocent users to download and install it into the computer. Since then, it would bring nothing but trouble to the system and users. The main purpose of the cyber criminals who are be behind the Dream Scan Soft is too coax the users and make exorbitant profits. Sometimes, users don’t even remember approving the rogue to install in the computer, because this cunning rogue might be bundled with freeware or shareware, being downloaded together into the targeted system and automatically installing itself without user’s permission. So, users have to be careful and never blindly get free downloads installed into the computer, just in case malware and virus mixing in it and bring so much trouble which could have been avoided.
Extra Tip: If you still can’t remove this cunning rogue, please click on the button and ask the VilmaTech Online Experts for further help.