Can’t uninstall Webroot SecureAnywhere from your PC? Why is Webroot Secure Anywhere missing from the Add-Remove Programs? Well, sometimes it happens for unknown reasons. When you try to uninstall Webroot SecureAnywhere, the uninstallation options are missing or unavailable from the Control Panel, Start menu or Apps & Features in Windows 10. Even if you’ve managed to remove the program finally, various left-over traces of Webroot SecureAnywhere like its files, registry entries, dll. files may leave behind. This is a big issue for people who don’t want Webroot SecureAnywhere on their computers anymore. If you want to uninstall SecureAnywhere completely and are unable to do so, here are some effective solutions you can try.

Webroot SecureAnywhere is a highly rated antivirus solution designed by Webroot Inc, which is a private American company and also the market leader in endpoint security, network security, and threat intelligence. Webroot SecureAnywhere is loved by millions and trusted by many market-leading companies because it is easy to use, offers great features, and most importantly, it is excellent value for money. It contains three varietals including: Webroot SecureAnywhere antivirus, Webroot SecureAnywhere Internet Security Plus, and Webroot SecureAnywhere Internet Security Complete. Compared to other antivirus programs, Webroot SecureAnywhere is super lightweight and the installation only takes mere seconds. It does not interfere with your system performance or additional programs. Webroot SecureAnywhere offers the best protection against viruses, spyware, scam websites and other threats without slowing down your PC. Though Webroot is cloud-based, it scans quick and a full scan of the root drive can be completed in a few minutes. In addition, Webroot SecureAnywhere provides a full set of features like real-time anti-phishing, threat protection, password management, firewall and network connection monitor, lightning-fast scans, online backup for you to always satisfy your cybersecurity needss. It makes your digital world safer than ever.
You may need to remove Webroot SecureAnywhere from your Windows PC because of the following reasons:
Generally speaking, people can easily uninstall Webroot SecureAnywhere from Windows Control Panel. For Windows 10 users, it can be uninstalled from Apps & Features window as well. But some people still encounter some problems of the program’s removal. For example, the Uninstall option is grayed out and Windows refuses to uninstall Webroot SecureAnywhere on the computer. Or, the program is not listed there so you have no clue where to get started. And the worse thing is, associated files and registry entries still exist even after the removal from Control Panel. So, how do you remove Webroot SecureAnywhere thoroughly? Webroot did provide a small utility to uninstall Webroot security products completely from the system. This utility is compatible for Windows 10, 8, 7, XP and works for both 32-bit and 64-bit platform. But, it doesn’t always work. If you are in need of uninstalling Webroot SecureAnywhere, please refer to the following instructions.
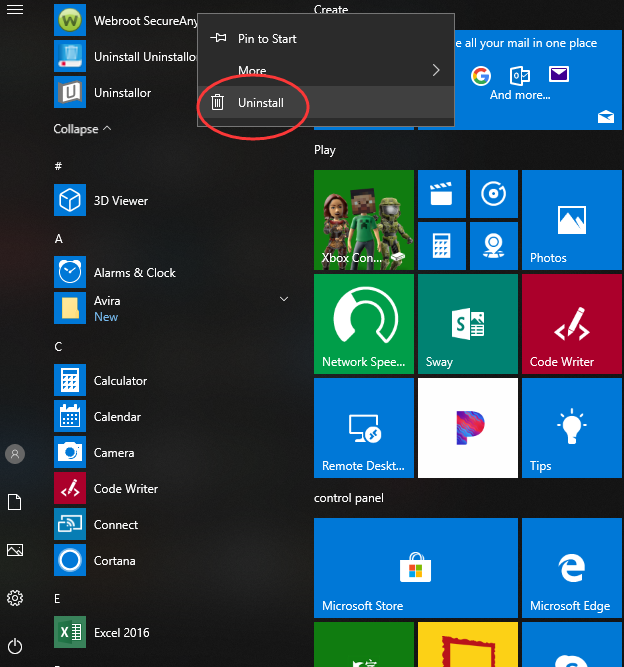
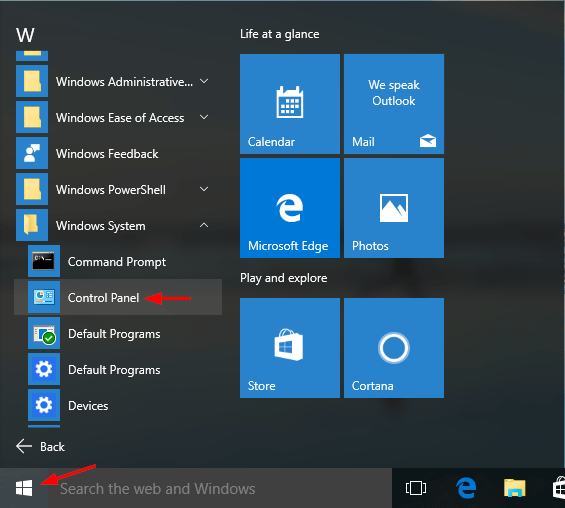
Method 1: Uninstall from the Start menu
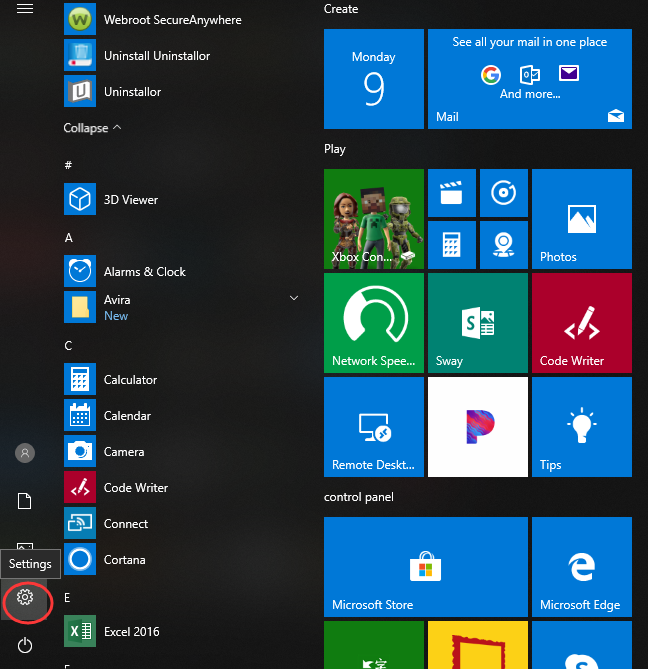
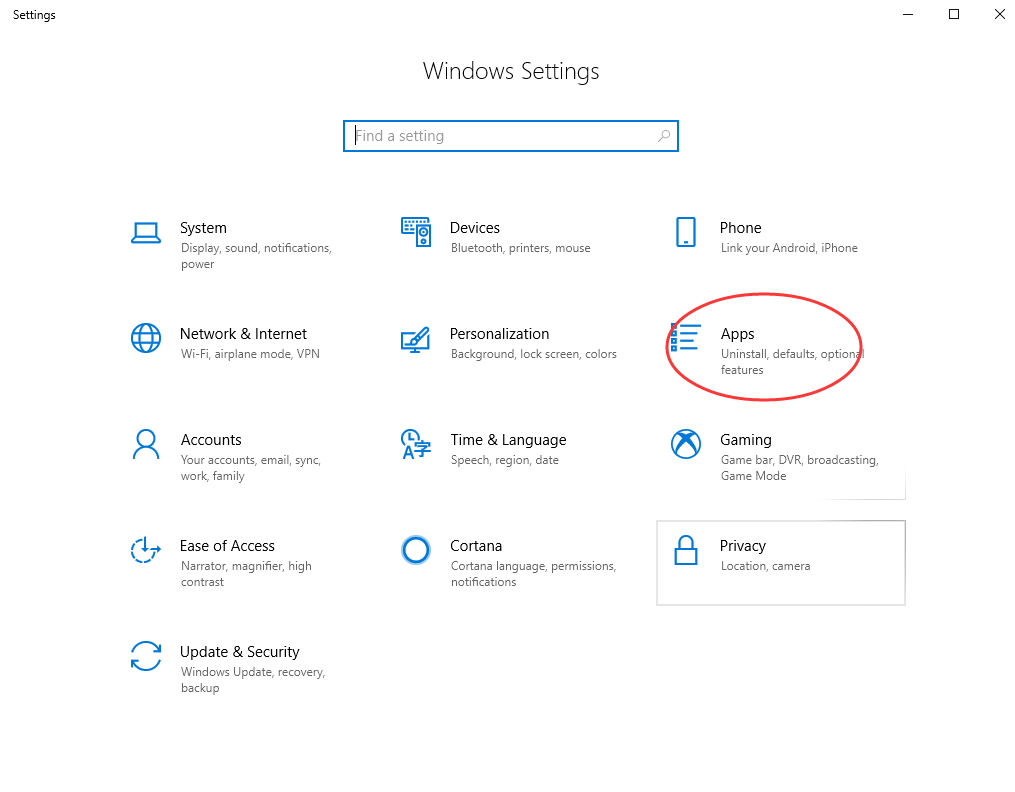
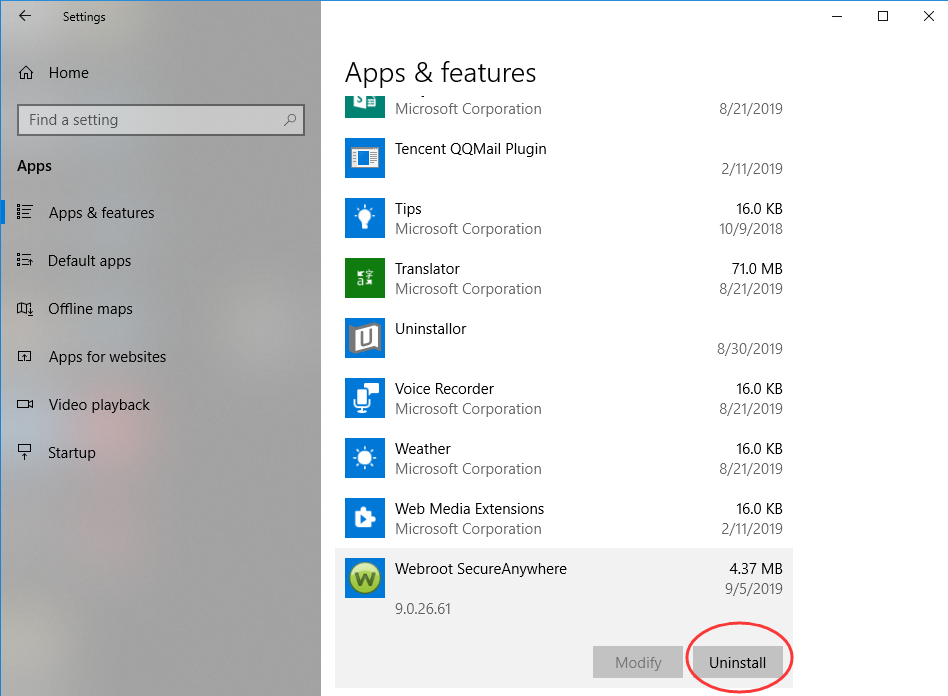
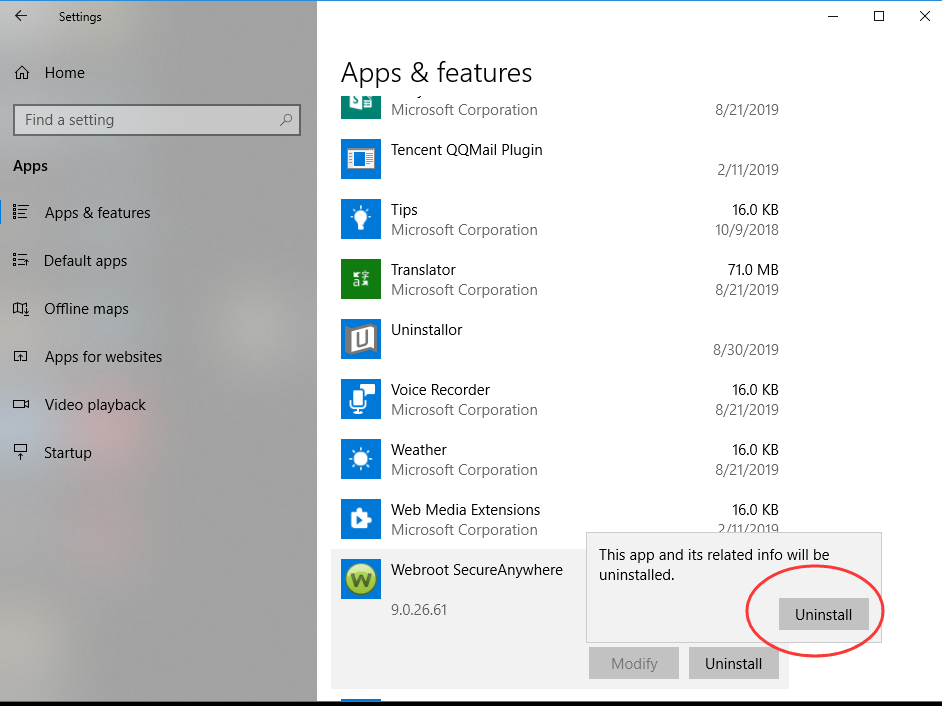
Method 2: Uninstall from the Settings page
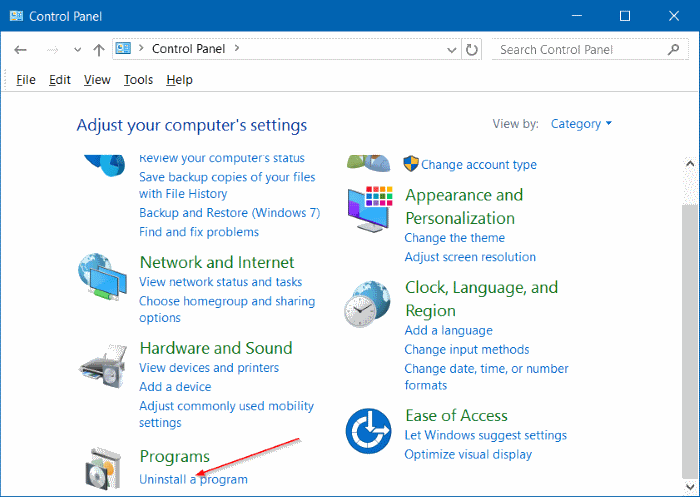
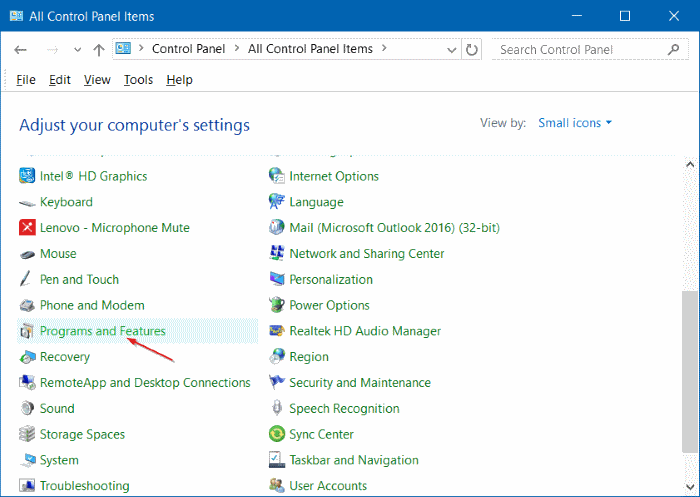
Method 3: Uninstall from the Control Panel (for programs)

The above three methods may help you delete Webroot SecureAnywhere, but some files of this program might still remain in a few system folders. So, you have to manually delete leftover file system and registry items.
How to Delete Leftovers Manually?
To delete these leftovers, you’ll need check following folders and delete associated files first.
- C:\Program Files (x86)\
- C:\Users\User Name\AppData\Local\Temp
- C:\Users\User Name\AppData\Roaming
- C:\ProgramData\Microsoft\Windows\Start Menu\
Next, you have to delete Webroot SecureAnywhere entries from Windows registry:
Press Windows + R, and type in regedit in RUN box, then press Enter. It’ll open Registry Editor.
Locate the following keys:
If you can find any keys with the name of Webroot SecureAnywhere, just delete such keys. Make sure you’ve uninstalled all associated parts of Webroot SecureAnywhere before rebooting the computer.
Warning:
The manual removal instruction is for those who are experienced at using the Windows Registry and know how to view and delete system and program files. Be sure you have backed up registry in your Windows 10 before making changes. This way you can revert changes in case you deleted wrong registry. If you are not a computer savvy and don’t know where to start, we strongly recommend you use a third-party uninstaller to complete the removal job instead. Uninstallor is our recommended uninstaller that can identify all files and registries of Webroot SecureAnywhere and completely remove them with just 3 easy steps. It ensures a clean, complete and safe uninstallation of any unwanted programs.

Method 4: Uninstall with a Tool
If Windows built-in uninstall can’t delete the program you want, or you cannot remove Webroot SecureAnywhere manually by yourself, then a third-party uninstaller will be your best bet. Uninstallor is one of the popular uninstaller software on the market. It’s fully compatible with 32-bit and 64-bit versions of Windows system, and it works on Mac OS as well. Compared to Windows built-in uninstaller, it does a great job in uninstalling any unwanted programs from your PC without leaving leftover like the empty and invalid registry keys, folders and system files, application shortcuts, etc. All the uninstallation process can be done in just a few minutes. Wondering how to uninstall Webroot SecureAnywhere with Uninstallor? Here’s how it works:
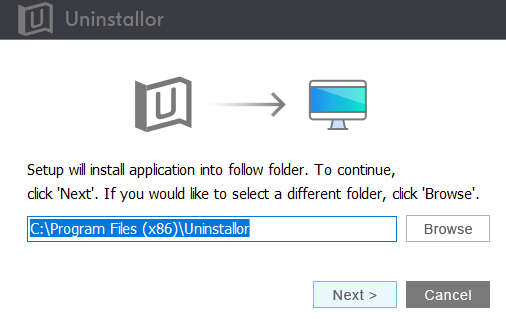
1. Download & Install Uninstallor on your machine. Uninstallor is quite lightweight, that means it only uses little storage and almost no system resources. There are not too many buttons or options so it’s rather easy to use.
2. Launch Uninstallor. As you can see, the user interface of Uninstallor is simple, easy to use, efficient and responsive. It gets the Webroot SecureAnywhere removal job done quickly.
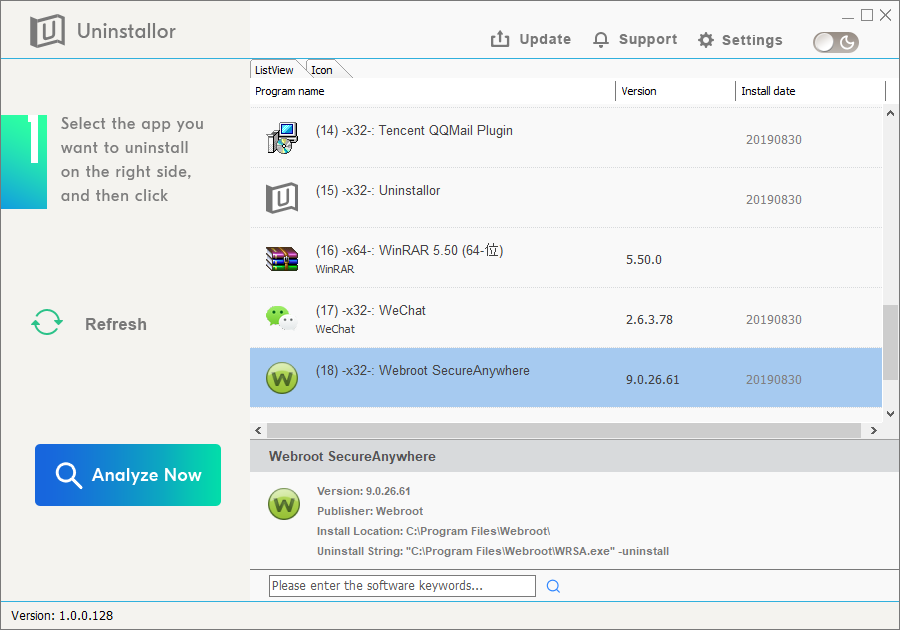
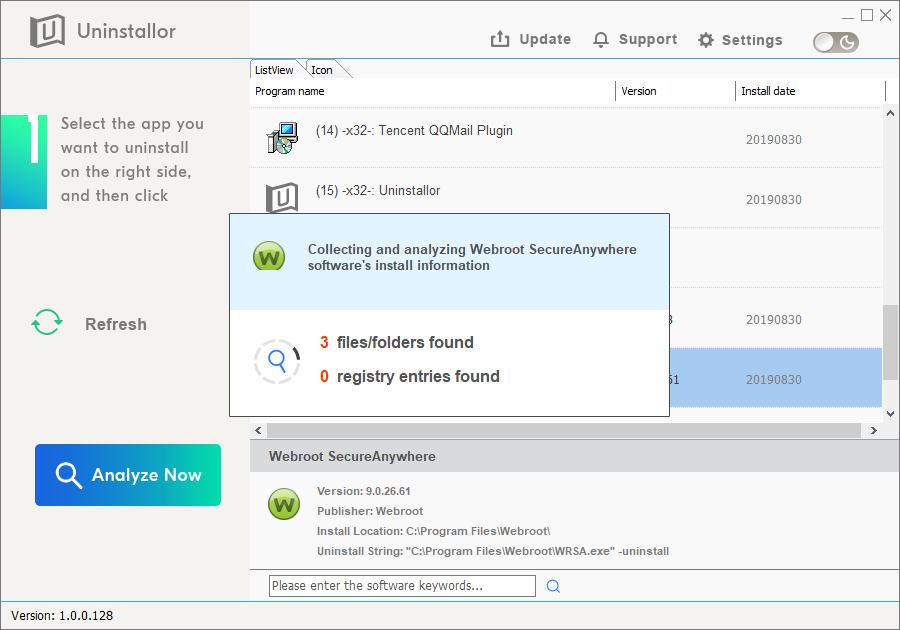
3. Search for Webroot SecureAnywhere components automatically. Select Segurazo Antivirus first, and click on “Analyze Now” button. It will analyze all associated files and registry entries related to the program.
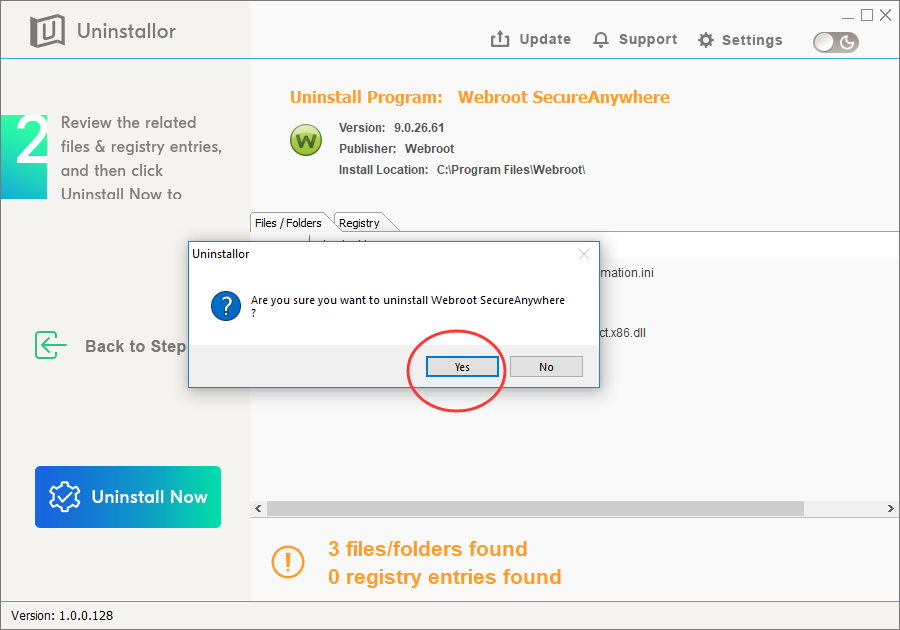
4. Perform complete removal. Click on “Uninstall Now” button to uninstall Webroot SecureAnywhere completely. Next, you need to click on “Yes” to confirm the removal. Please wait until the removal is finished.
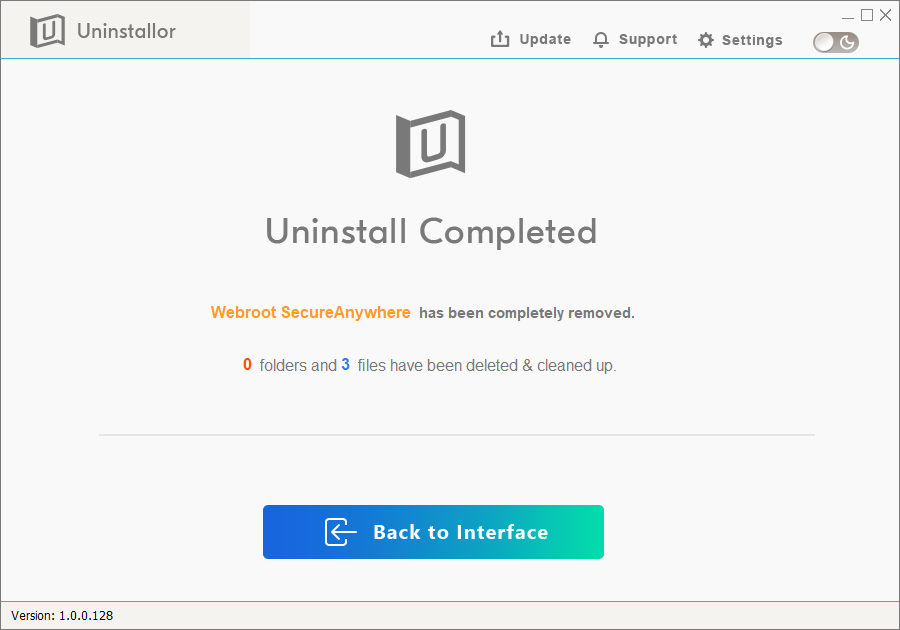
5. All done. Uninstallor will show you when Webroot SecureAnywhere has been completely removed. Please restart your computer to take effect.
Can’t get rid of Webroot SecureAnywhere from your Windows PC? Why is it so stubborn to uninstall? Uninstalling applications from your Windows PC is usually a simple task, but sometimes you might come across an application that refuses to uninstall, just like Webroot SecureAnywhere. As soon as you install the program, Webroot SecureAnywhere adds many files in various locations on the computer and it also modifies registry entries in order to launch itself every time you boot up the computer and monitor each file for you. So, the manual uninstallation of Webroot SecureAnywhere is usually complicated and tedious. If you are not computer know-how and don’t have expertise and patience to accomplish, you might mess up your PC because an incomplete uninstallation may leave many useless and invalid items in the registry and affect your computer performance in a bad way. In some cases, if you delete a wrong registry it may even crash down your PC. So, it’s recommended that you uninstall Webroot SecureAnywhere with a trusted third-party uninstaller.
Uninstallor provides a quick, permanent and safe way to remove Webroot SecureAnywhere and all its trace. It’s super easy to use and available on both Windows and Macs. Just with 2 steps – analyze and uninstall – your unwanted program can be removed in a second. In case you have problem in uninstalling Webroot SecureAnywhere by yourself, Uninstallor even provides custom fix solution and on-demand remote support specially for you. If you are not able to uninstall SecureAnywhere using the steps above, don’t hesitate to contact our expert for instant help.