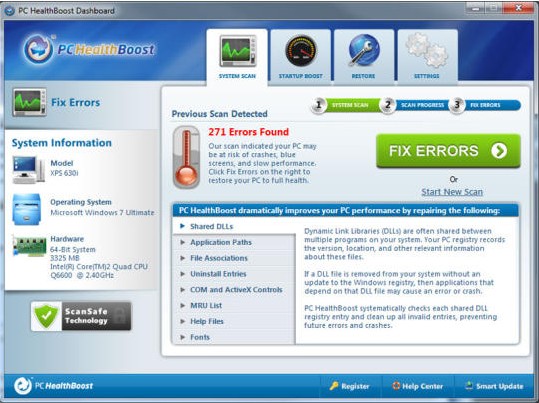
To uninstall PC HealthBoost from one’s computer completely, you can refer to the effective manual instructions listed on this post. Technically, PC HealthBoost is designed to help users to optimize their PCs’ performance and stability so that those PCs can be well maintained in real time no matter what it is in delivering speed, performance, and stability to your PC. Besides that, PC HealthBoost has ability to detect and then repair critical system registry errors and clean junk /duplicated Windows registry entries. We have to admit that PC HealthBoost plays an important role of upgrading PC performance and keeping stable. However, some computer users suppose it is useless for them and want to uninstall PC HealthBoost program. Also some computer users have to remove it from their computer just in consideration of some troubles with compatibilities, unable to update, or missing necessary files problems. I would like to introduce three ways on how to do to uninstall PC HealthBoost here that sometimes just need some licks and you can be through.

Step 1: Go to Start -> All Programs – > locate at PC HealthBoost
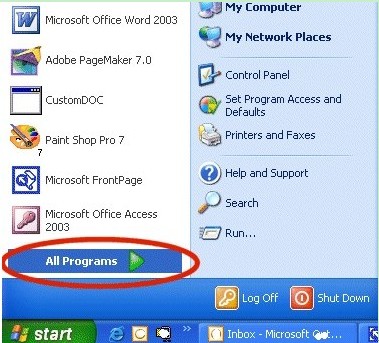
(Point your mouse in the screen’s bottom-left corner and then click when the Start icon appears. The Start screen appears, bringing a screen full of tiles representing many of your apps and programs.)

Step 2: Click Uninstall PC HealthBoost from its right pop-up box and then follow the Wizard to uninstall the program.
Step 3: Click “Yes “to confirm that you want to remove it.
Step 4: When the removal is complete, click “Finish.”
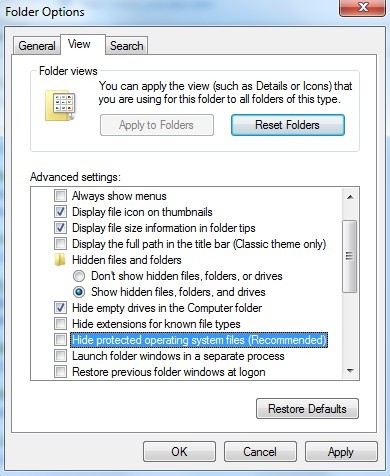
Step 5: You then still need delete leftovers including files and registries to accomplishedly uninstall PC HealthBoost. To fast locate all files associated with the target program you should show hidden files first. Show hidden files: Click on Start button-> Click on Control Panel->Double click on Files and Folder Options->click on the View tab->Check “Show hidden files, folders and drives”->Uncheck “Hide protected operating system files (Recommended). Then click Ok button.
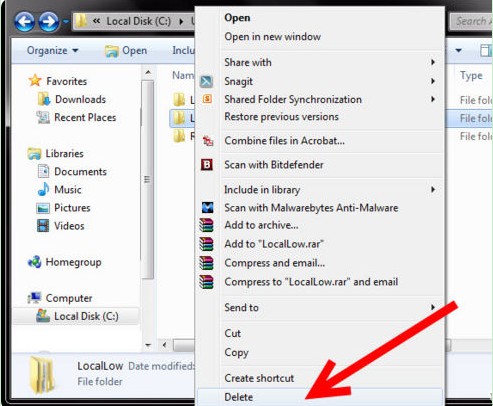
Step 6: Click on Start button to go to My Computer. Open Local (Disk) C:\ or Local (Disk) D:\ It is according to the place where you installed the target program. Find the PC HealthBoost program folder and its plug-in folder related with it, right click on them and then click on Delete option.
C:\Program Files\PC HealthBoost 2.1.1
(C:\Document and Settings\All Users\Application Data\)
(C:\Documents and Settings\%USER%\Application Data\PC HealthBoost 2.1.1)
Step 7: Open Registry Editor by pressing Windows+ R and typing regedit in Run window. Click ok. Within the pop-up window as below, you need delete registry entries to uninstall PC HealthBoost.
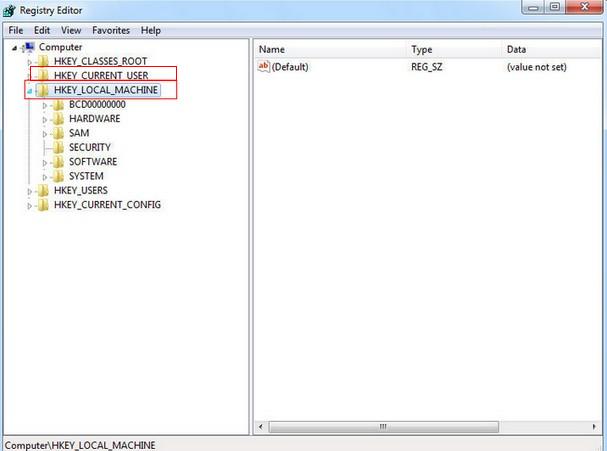
(HKEY_CURRENT_USER\Software\)
(HKEY_LOCAL_MACHINE\Software\PC HealthBoost 2.1.1)
(HKEY_LOCAL_MACHINE\Software\Microsoft\Windows\CurrentVersion\Run\eg ui)
Step: 8 Restart your computer to effect all changes.
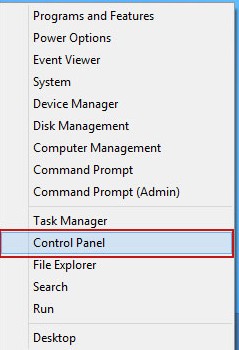
Step 1: Click Start menu and click on Control Panel.
Step 2: Double click Add or Remove Programs, locate and double click on PC HealthBoost, and select the option “Remove.”
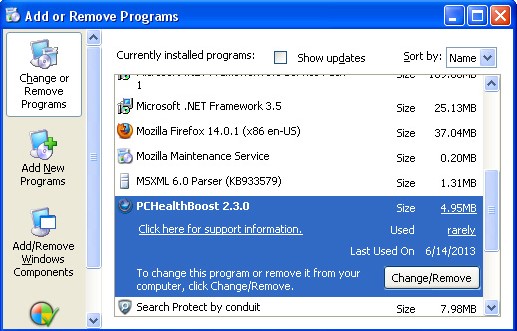
Step 3: Please wait while the program is removed from your computer. Then it will prompt you if you are sure you want to uninstall PC HealthBoost and all of its components. Click on Yes please.
Step 4: Delete all left folder files and registry entries according to the first method mentioned above.
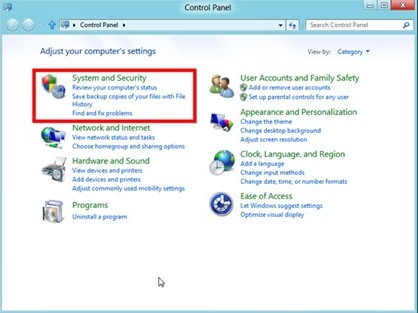
Step 1: Click Start button, click Control Panel. It may display Control Panel page. And then click on “System and Security.”
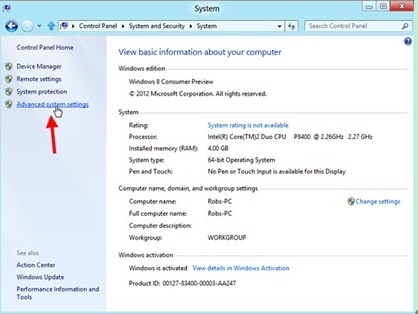
Step 2: In the following window, it may show you some options on the right end of the page. For instance, Device Manager, Remote Settings, System Protection, Advanced System Settings and so on. What you have to do now is to click on the option- Advanced system settings. See as below.
Step 3: Now you are on System Properties window. Click on System Protection Tab there.
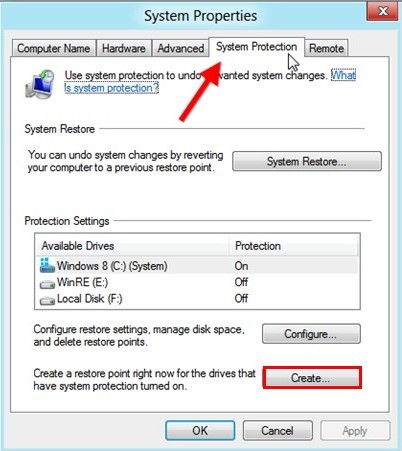
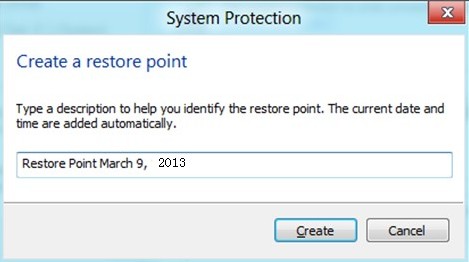
Step 4: On the System Protection dialog box, click Create and name the restore point. And then Windows creates the restore point for you.
Step 5: Later after the restore point has been created you can proceed to uninstall PC HealthBoost by restoring system from a restore point to solve computer troubles.
Step 6: When it finishes, you need come back to the System Protection tab and click on the System Restore button hanged in middle. In the next window, you need to click on Next button by the wizard.
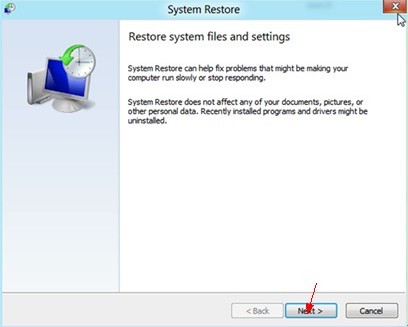
Step 7: You can select a restore point that the one you just made earlier, and click the Next button to restore the system from there. Follow precisely you need click on the Finish button and wait for Windows restoring….In a word, you can completely uninstall PC HealthBoost later after the restore process finishes.
Note: You can backup your own files, photos before system restore in case of losing.
To remove unwanted or corruptive programs is a good way to improve one’s computer performance. Similar to uninstall PC HealthBoost, you can use the same methods to uninstall any useless Third-Party Windows free programs from your computer quickly. But you have to pay close note here that you have to clean out all left components about the program that you removed such as left files and registry entries. If numerous junk files left on your computer this time, as junk files and useless entries accumulates, all of those junk things can corrupt your system registry to make one computer totally crashed down. Positively, if you remove all leftovers when you PC HealthBoost, you can upgrade PC’s performance and have good PC experience. At last, if you have any questions, or need more help to uninstall PC HealthBoost, you may contact with VilmaTech Online Support to chat with experts, they can offer suggestions according to the situation.